

/workspace folder. In a chat, that folder is kept per conversation and survives across runs, so an agent’s saved notes and files are still there when it wakes up again. The Filesystem node adds a named persistent volume to any agent, and a GitHub tool provider can clone repositories into the sandbox with authenticated git.
The sandbox shell
Every agent can run shell commands. The built-in LLM agent gets anexecute_bash tool, and the five CLI harnesses have a shell of their own. The sandbox starts the first time the agent actually runs a command, so an agent that only ever answers in chat never starts one.
A test run answers shell commands with made-up output like any other tool call, so a rehearsal never starts a real sandbox.
The filesystem node
Wire a Filesystem node from its top handle into the agent’s bottom handle, or add it from the agent’s Add tool palette. The agent gets a mounted volume whose contents persist across runs, under a name and a mount path you choose.
In Per Conversation Key mode the node’s file browser reads and writes the shared base volume, not any one chat’s volume. The panel says so, and a conversation’s own files are in that chat’s Files menu.
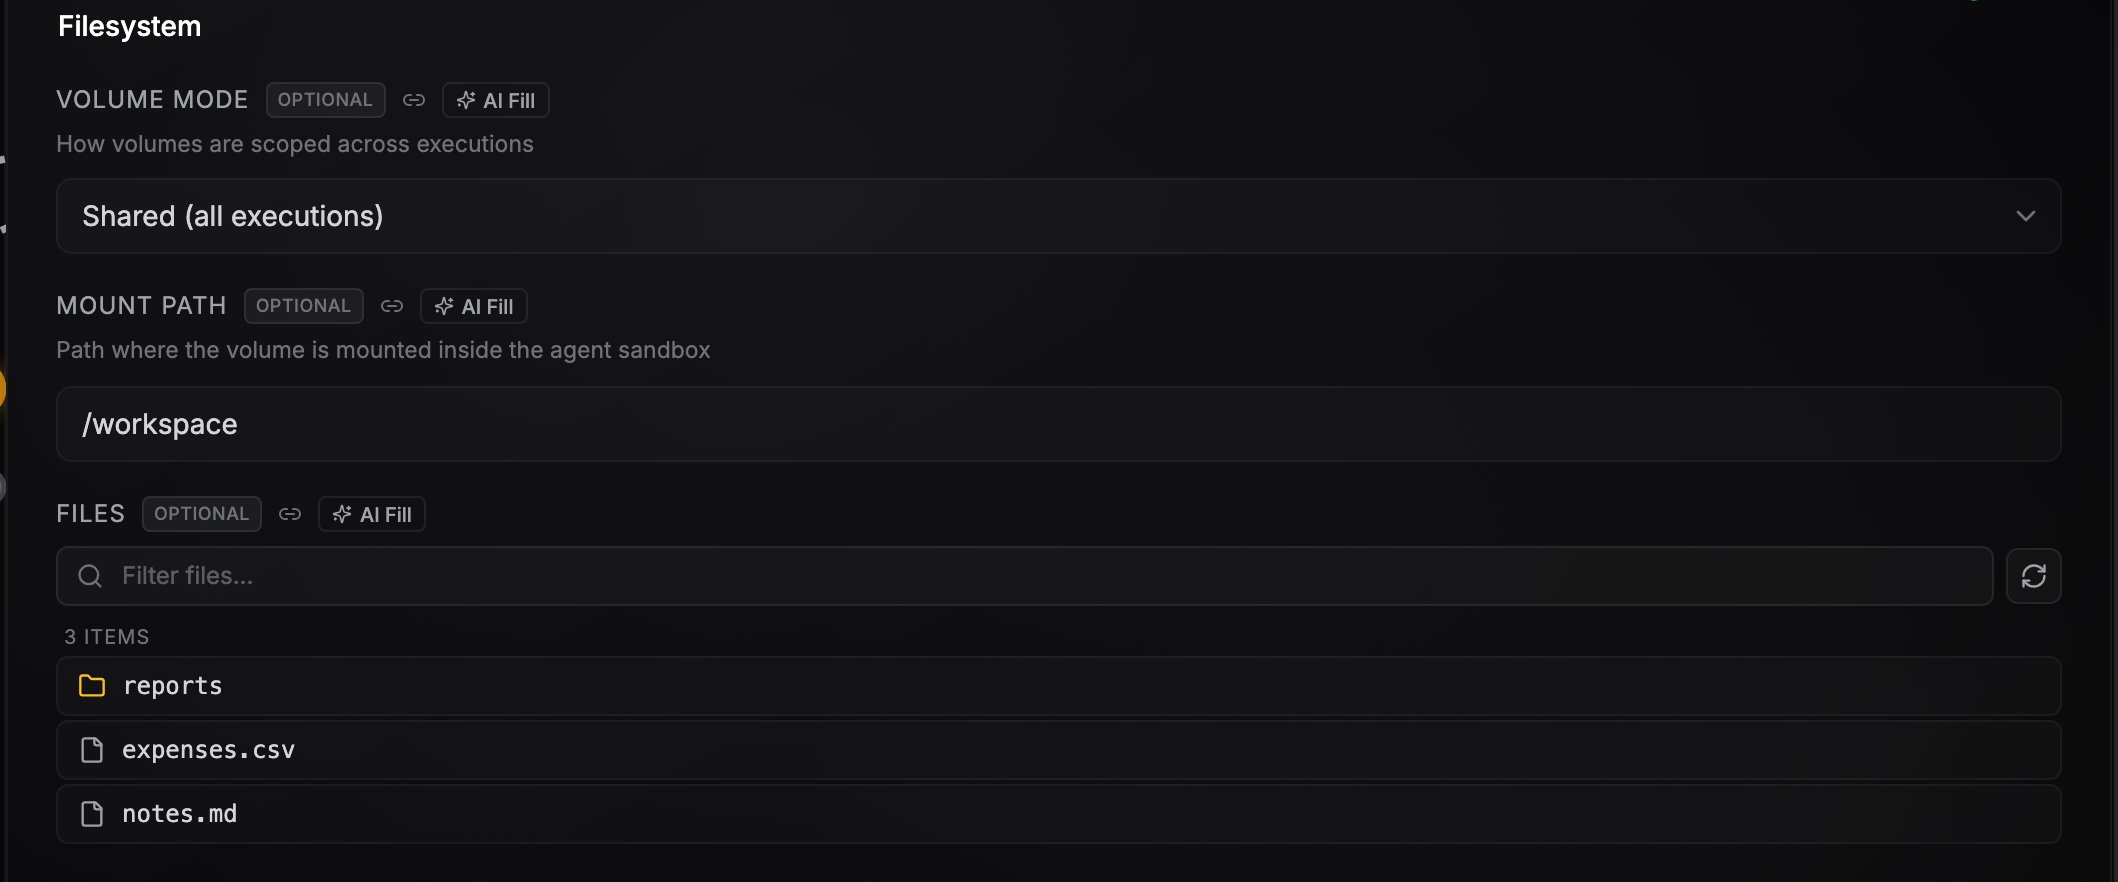
Filesystem node config with volume mode, mount path, and the file browser
What persists, what doesn’t
- Files under the Mount Path persist across runs (and across harnesses, since the volume is keyed to the workflow and node).
- Everything outside the mount path is ephemeral and wiped after each run.
- Without a filesystem node, an agent in a chat still keeps its
/workspacefolder across runs, one folder per conversation, so its saved notes and files survive a restart. Wiring a filesystem node makes that storage explicit and lets you choose its volume mode and browse its files. - A manual run with no conversation gets scratch disk instead, wiped when the run ends.
Browse saved files from chat
Every agent chat has a Files menu that lists what the agent saved in the current conversation’s workspace. Open a file to preview it in place (text, markdown, code, or an image) or download it with one click. Files the agent just wrote can take a few seconds to show up, and a refresh button reloads the list. To remove a file, click the trash button on its row and confirm on the row itself. The file is deleted from the workspace, so the agent no longer sees it either. Agents keep their scratch work out of this list. Temporary scripts and intermediate downloads go to a scratch folder that is wiped after the run, and/workspace holds the files meant for you.

The Files menu on an agent chat, listing the conversation's saved files
Give an agent a file to work on
You can put files into a workspace yourself, so the agent finds them there on its next turn:- In an agent chat, click the upload button in the Files menu header. The files land in that conversation’s workspace.
- In a filesystem node’s config panel, click Upload in the file browser. The files land in that node’s volume.
@ in the chat and pick it from the list that appears. The file’s full path is inserted into your message. Arrow keys move through the list, Enter or Tab accepts the highlighted file, and Esc closes it.
Publish a file to a URL
Agents have anupload_file tool. Give it the path to any file the sandbox can read and it uploads the file to the workflow’s resource storage and returns a public URL, so the agent can share a generated image, attach a report to an email, or pass the file to a downstream node. Every agent has it, on every harness, whether or not a filesystem node or a repository mount is wired.
GitHub repository mounts
A GitHub node wired as a tool provider has a Mount repositories section in its panel. Click + Add repository, pick a repo from the dropdown (it lists what the connected credential can access), and optionally a branch.
The Mount repositories section on a GitHub tool provider
git and the gh CLI are authenticated with the node’s credential, so the agent can commit, push, and open pull requests.
Repo working trees are wiped after the run unless a filesystem node is attached. Have the agent commit and push its work rather than leaving changes on disk.
gh CLI is the fallback for anything the tools don’t cover. Use fine-grained personal access tokens to limit what a mounted credential can reach.
Environment variables
You can give an agent its own environment variables so it can call APIs that NoClick has no node for. Open the agent’s Credentials panel, expand Advanced, and under Environment variables create a set: name the set, then add each variable as a name and value (for exampleSTRIPE_KEY). The set is saved as a reusable credential, so you can link the same one to more than one agent.
Each variable is available in the agent’s sandbox shell, so the agent can reference it directly:
Next steps
Conversations
Pair per-conversation volumes with conversation keys.
Models and harnesses
See which harnesses run in a sandbox.