Describe the app
From the dashboard, click New Workflow and describe the app in the chat. For example:The builder creates the workflow and the interface blocks that go with it: a form for the topic, and an output area for the draft.
Open the Interface tab
Switch to the Interface tab in the canvas top bar (shortcut 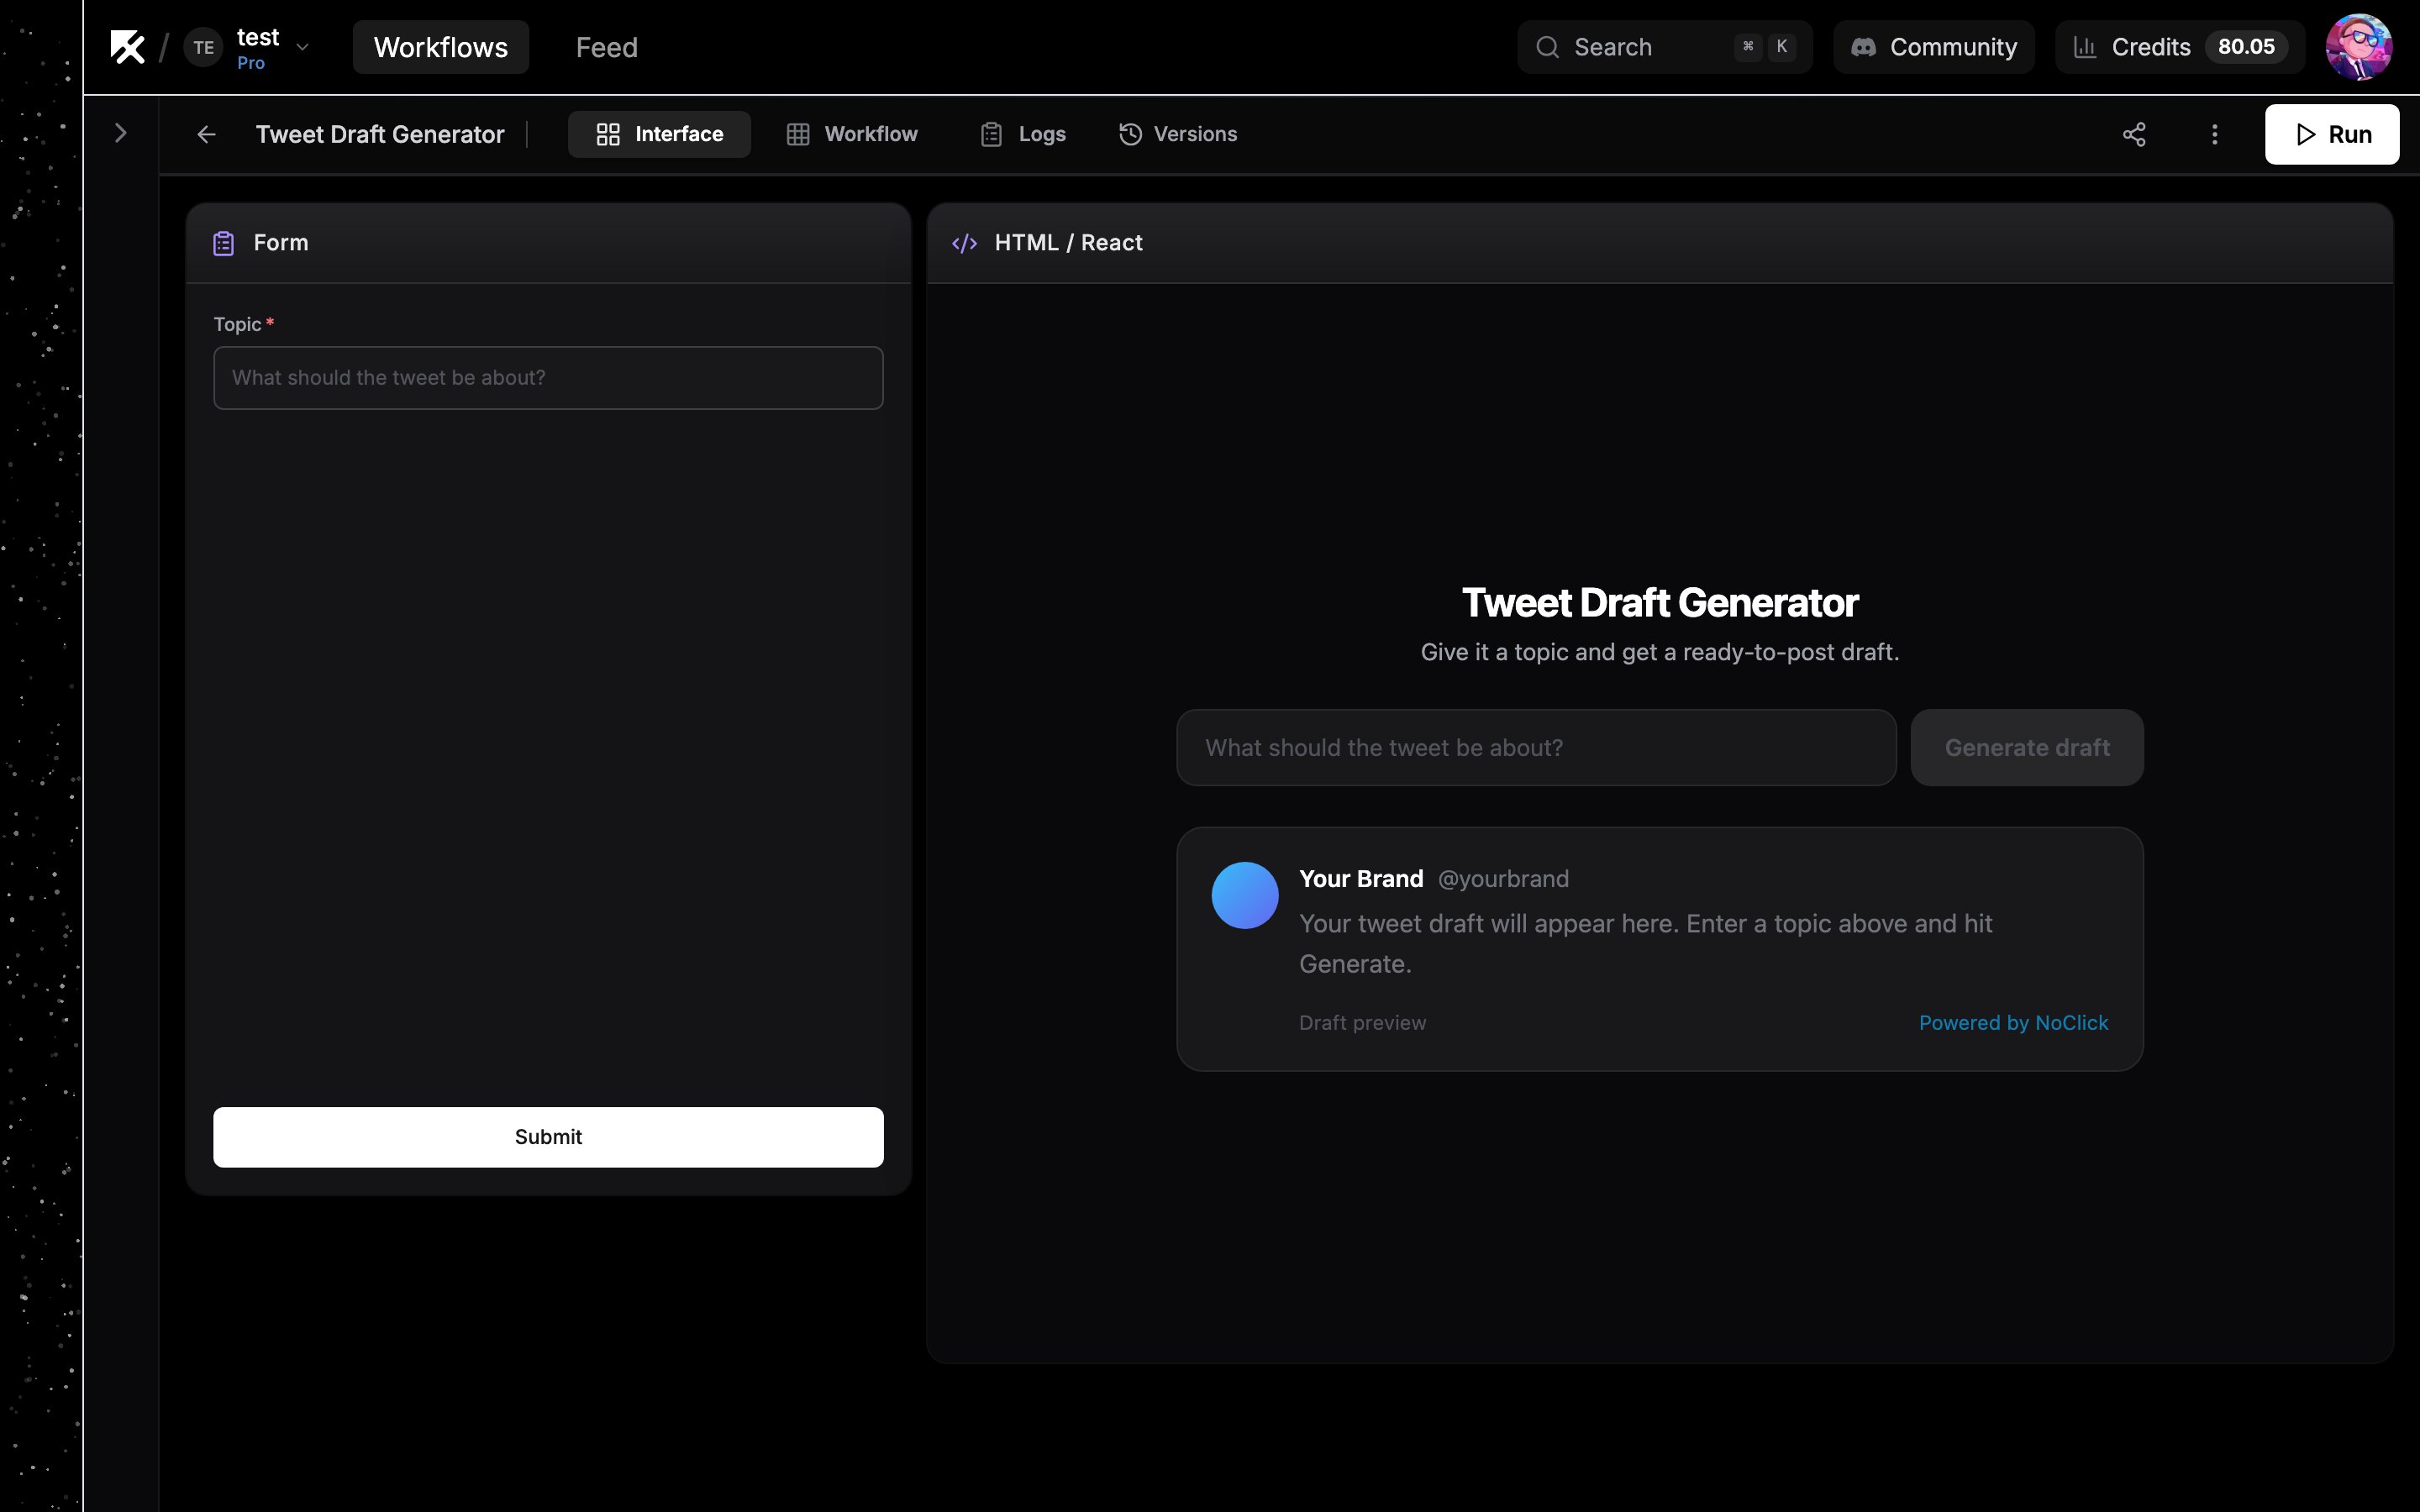
I). This is the visual editor for your app.Arrange the blocks
Drag blocks around the grid and resize them until the layout looks right. See Interface blocks for the full set of block types you can add.
Publish
Switch back to the Workflow tab and click the Publish pill at the top right of your app block’s header. (A white Publish button also appears at the top right of the Interface tab.)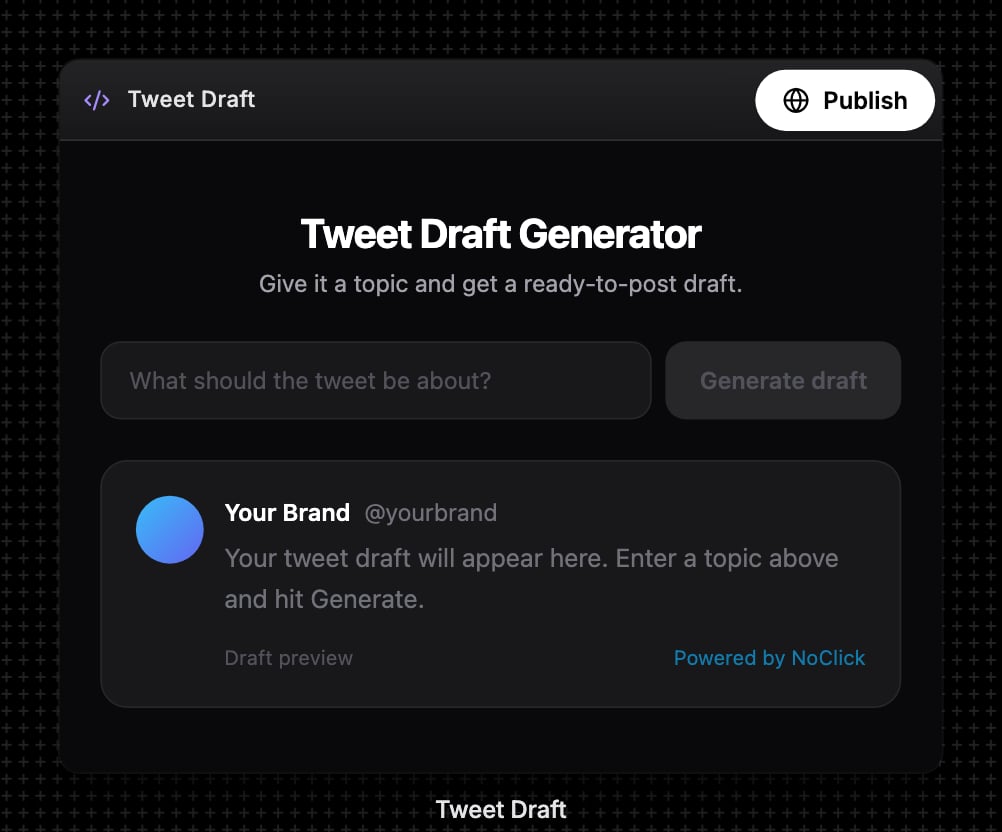
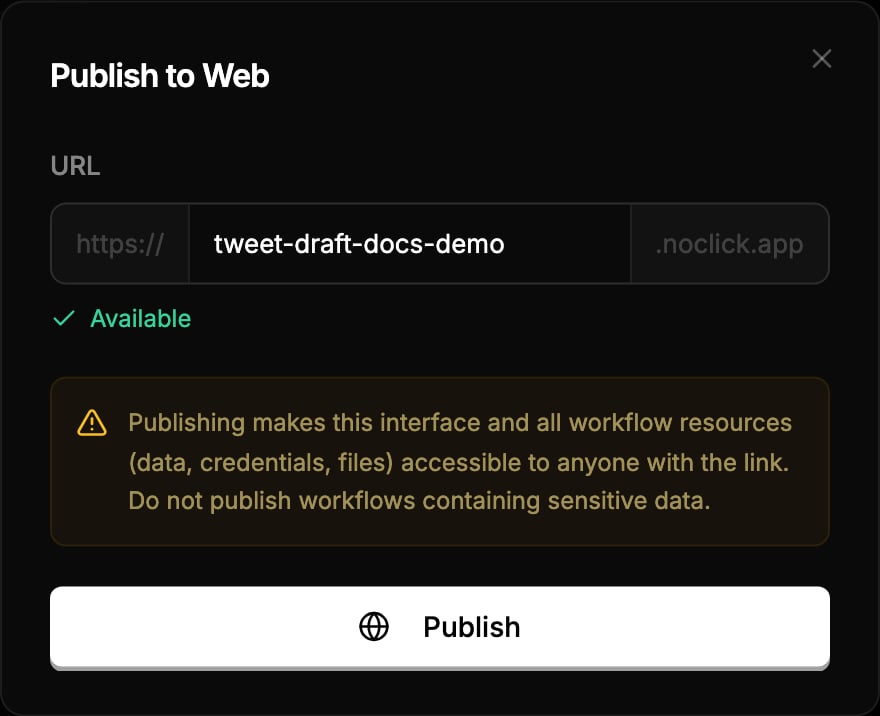
https://[subdomain].noclick.app. Availability is checked as you type. Then click Publish.
Next steps
Publishing
Updating, unpublishing, and managing published apps.
Custom components
Build your own React blocks when the built-in ones aren’t enough.