noclick.app. The parsed message (sender, subject, body, attachments) becomes the trigger’s output for downstream nodes.
Reserve an address
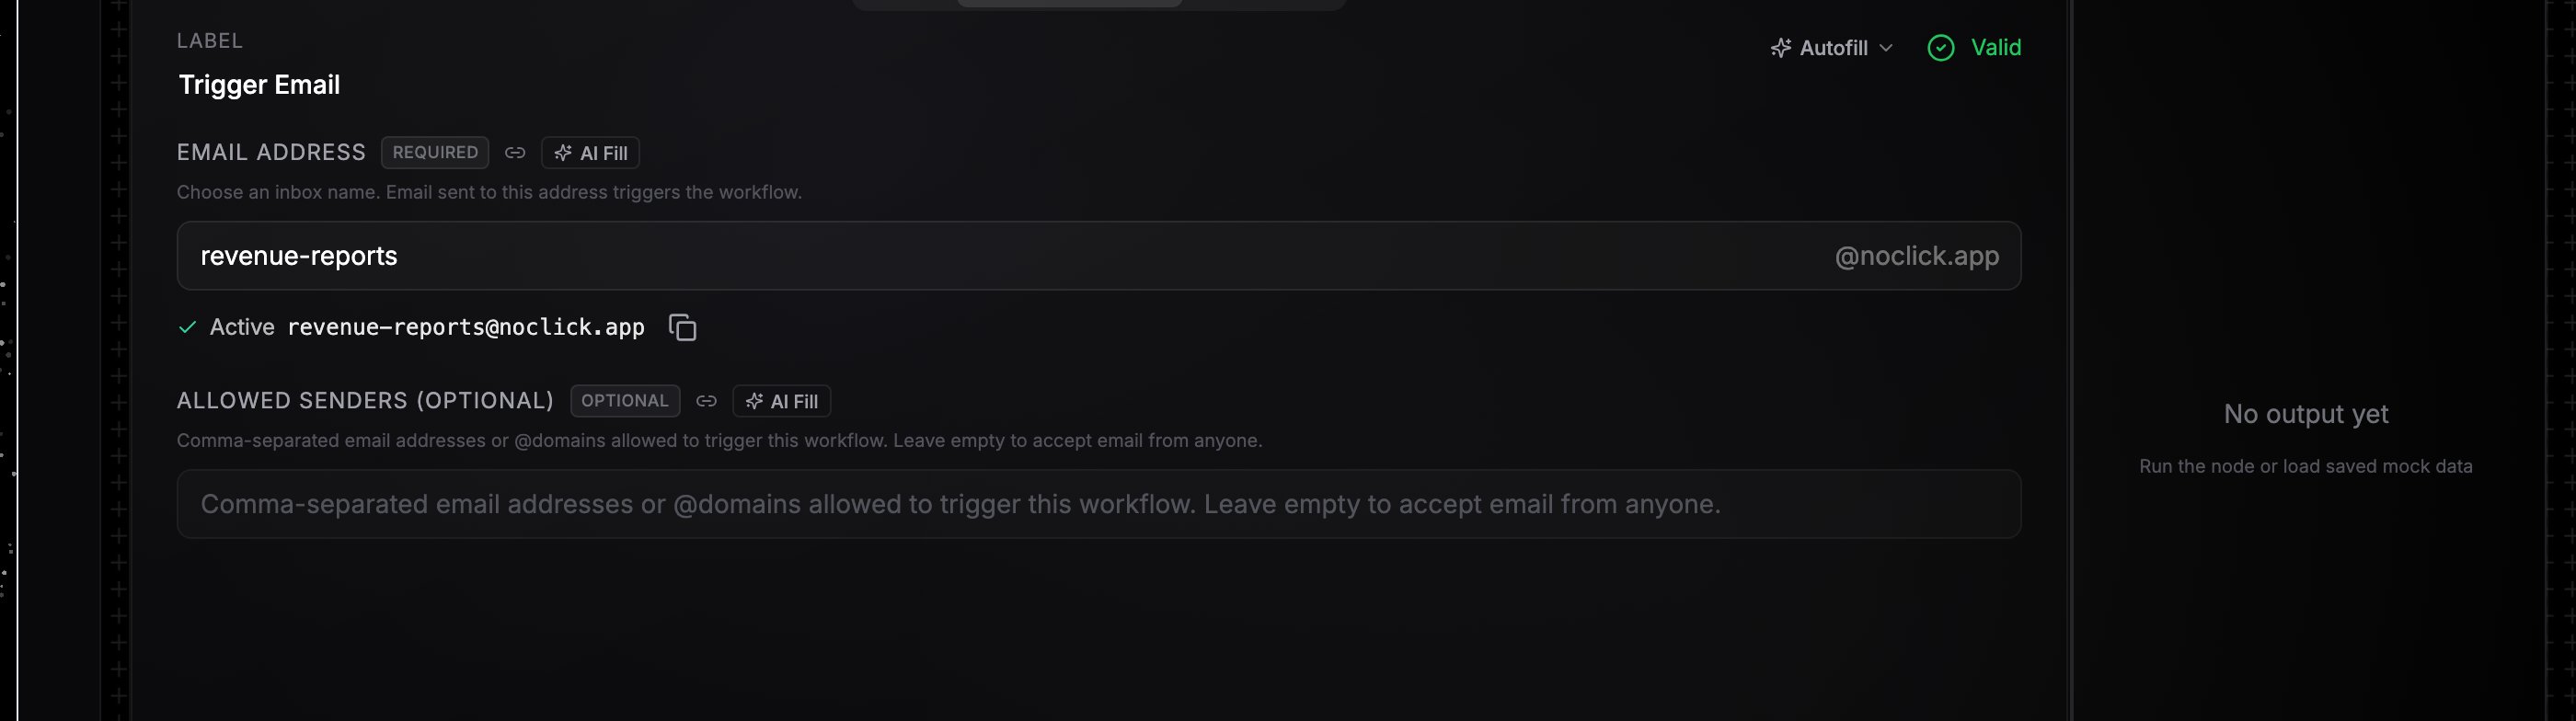
Pick an inbox name
Type an inbox name in the Email Address field. Availability is checked live as you type; a free name is reserved automatically and shown as Active with the full
name@noclick.app address and a copy button. Taken names show “That address is already taken”.What the event contains
The trigger’s output includes:fromandto: sender and recipient addressessubject: the subject linetextandhtml: plain-text and HTML bodiesattachments: a list withname,mime_type,size_bytes, and adownload_urlfor each file (stored as workflow resources, up to 256 MB per attachment)headers: the raw email headers, plus SPF and DKIM verification results
{{node-id.subject}} or {{node-id.attachments[0].download_url}}. See Data references.
Email into an AI agent
Wire the Get Email node directly into an AI agent and each inbound email is delivered as part of the agent’s turn. The agent also gains a lockedemail__reply tool: the recipient and threading are derived server-side from the triggering email, replies are capped at 5 per run, and each send costs 0.01 credits. See Channel agents.
Releasing the address is automatic: deleting the node frees the name for others to reserve.