workflow.execute() passes the inputs programmatically.
Define the form
Add a Form Input node
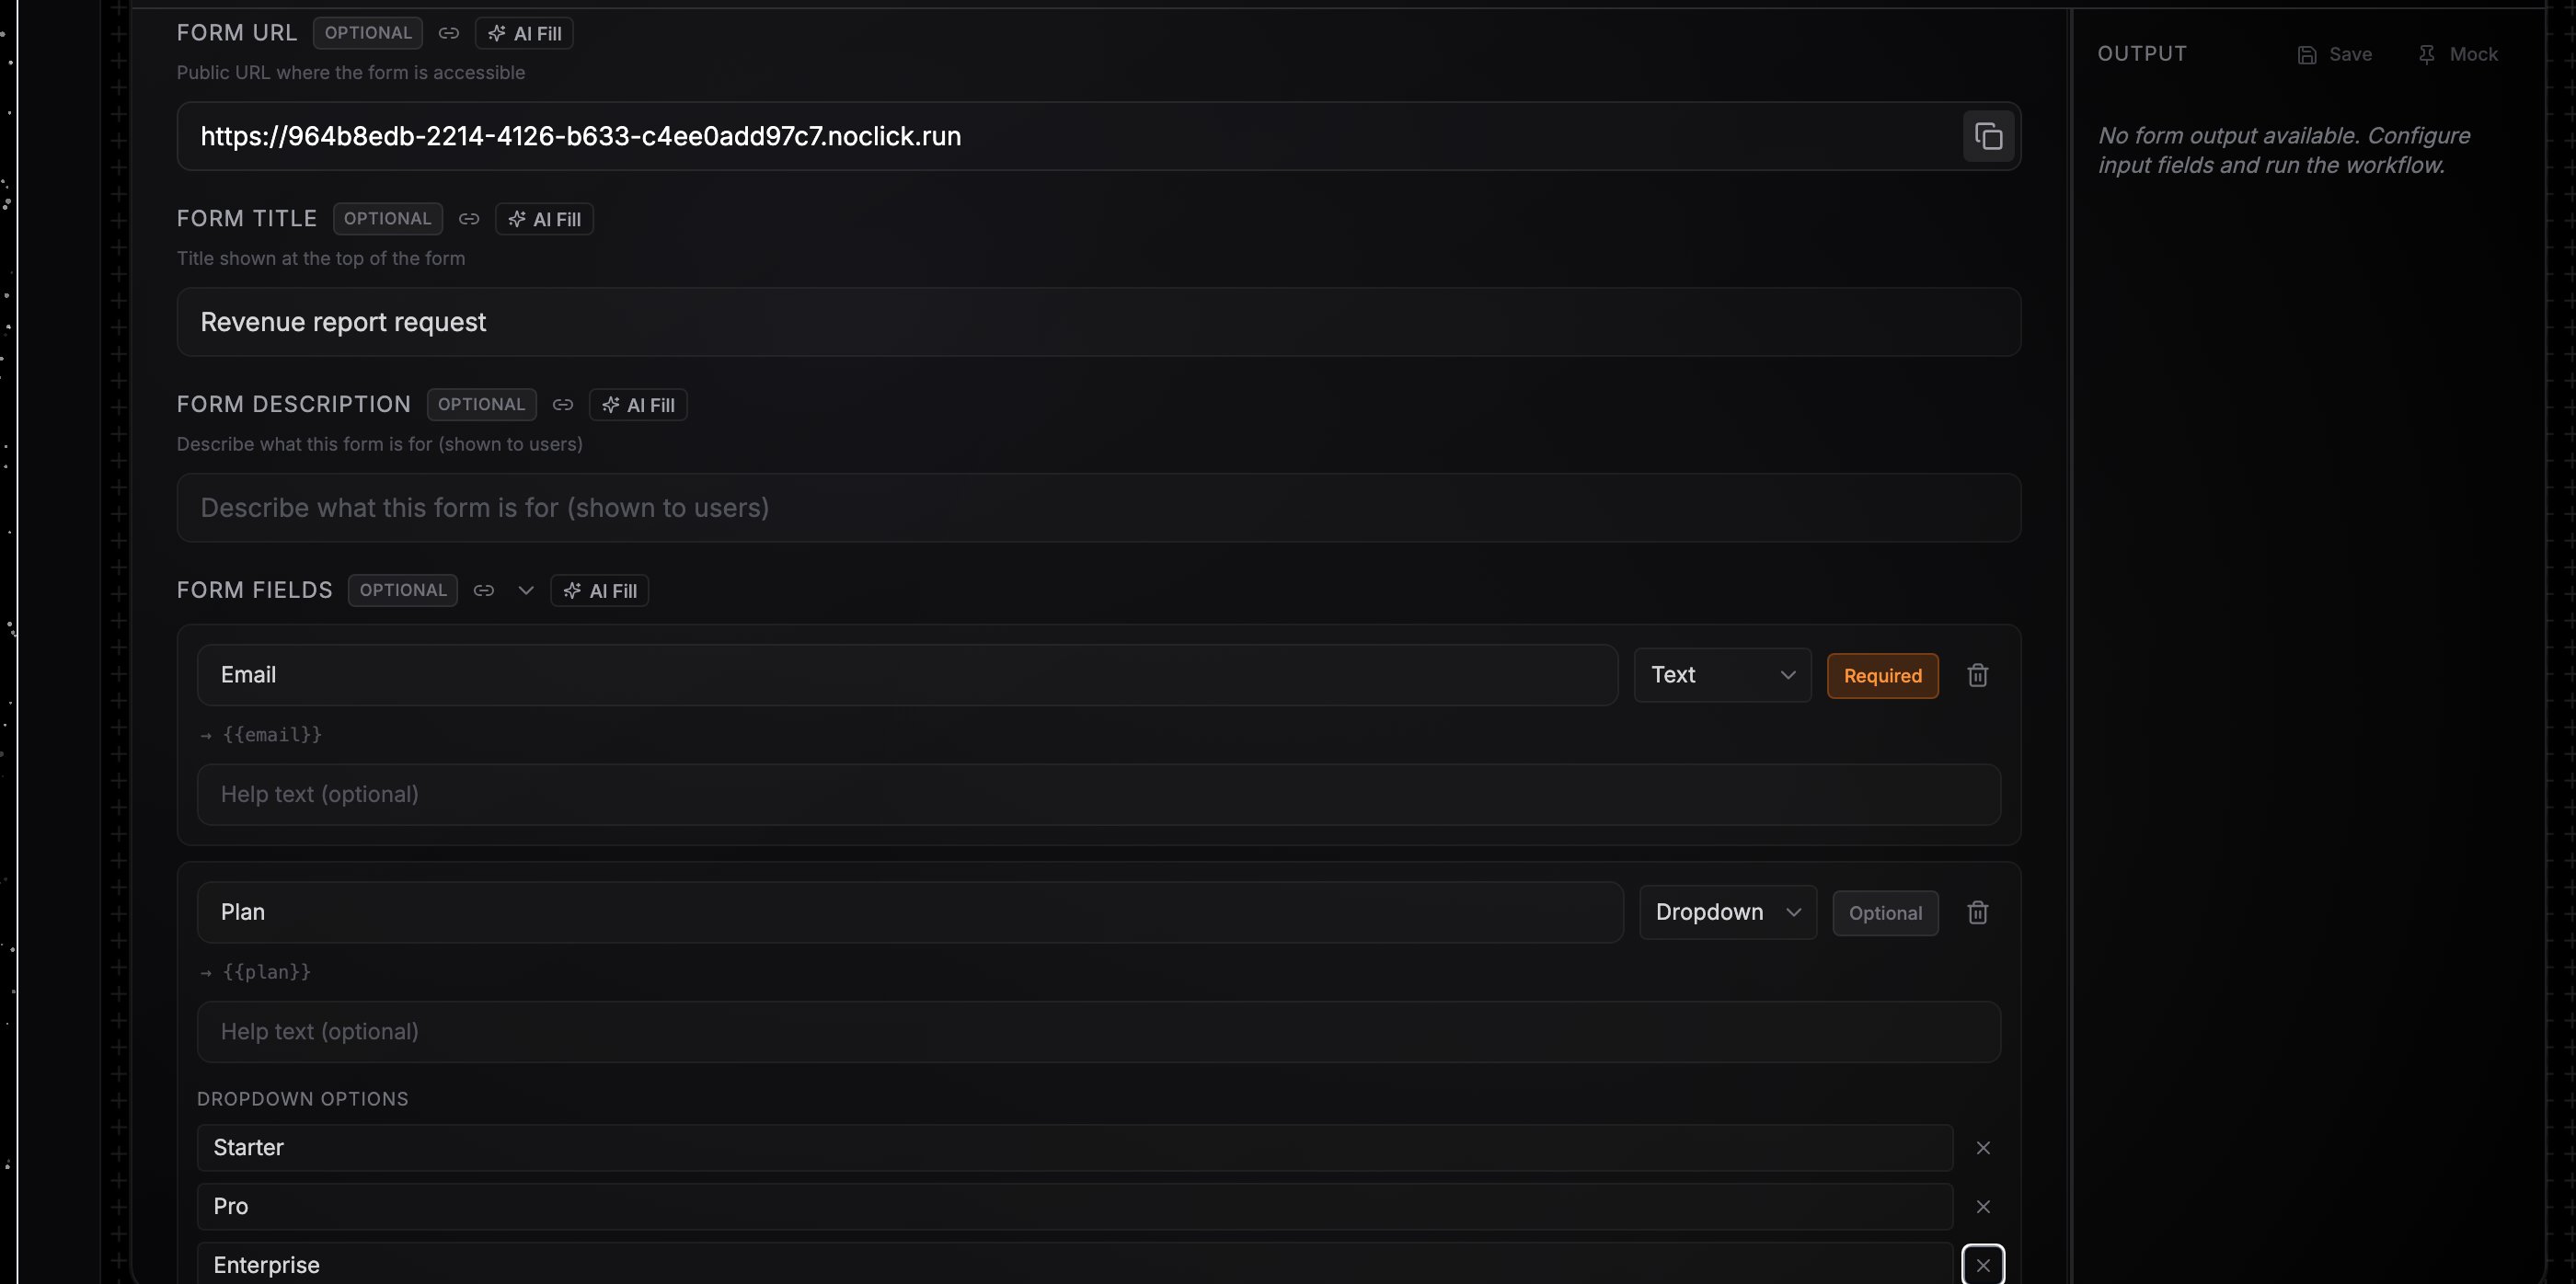
Add the Form Input node and connect it to your first downstream node. Optionally set a Form Title and Form Description; both appear at the top of the hosted form.
Add fields
Each field has a name (the identifier used in references), a type, an optional label and description, and a required flag. Supported types:
string, number, boolean, object, array, select (with an options list), and credential.Reference the values downstream
Submitted values appear on the trigger node’s output keyed by field name. Reference them as{{node-id.fieldName}}: a field named email on a node with ID form-input-1 is {{form-input-1.email}}. Dragging from the node’s output panel into a downstream config field builds the reference for you. See Data references.
Runs started from the form show the trigger source
Form in the Logs tab. Disabling the node takes the form offline; visitors see a “currently disabled” message instead.