Set up a schedule
Add a Schedule node
Add the Schedule node to your canvas and connect its output to the first node you want to run.
Pick a frequency
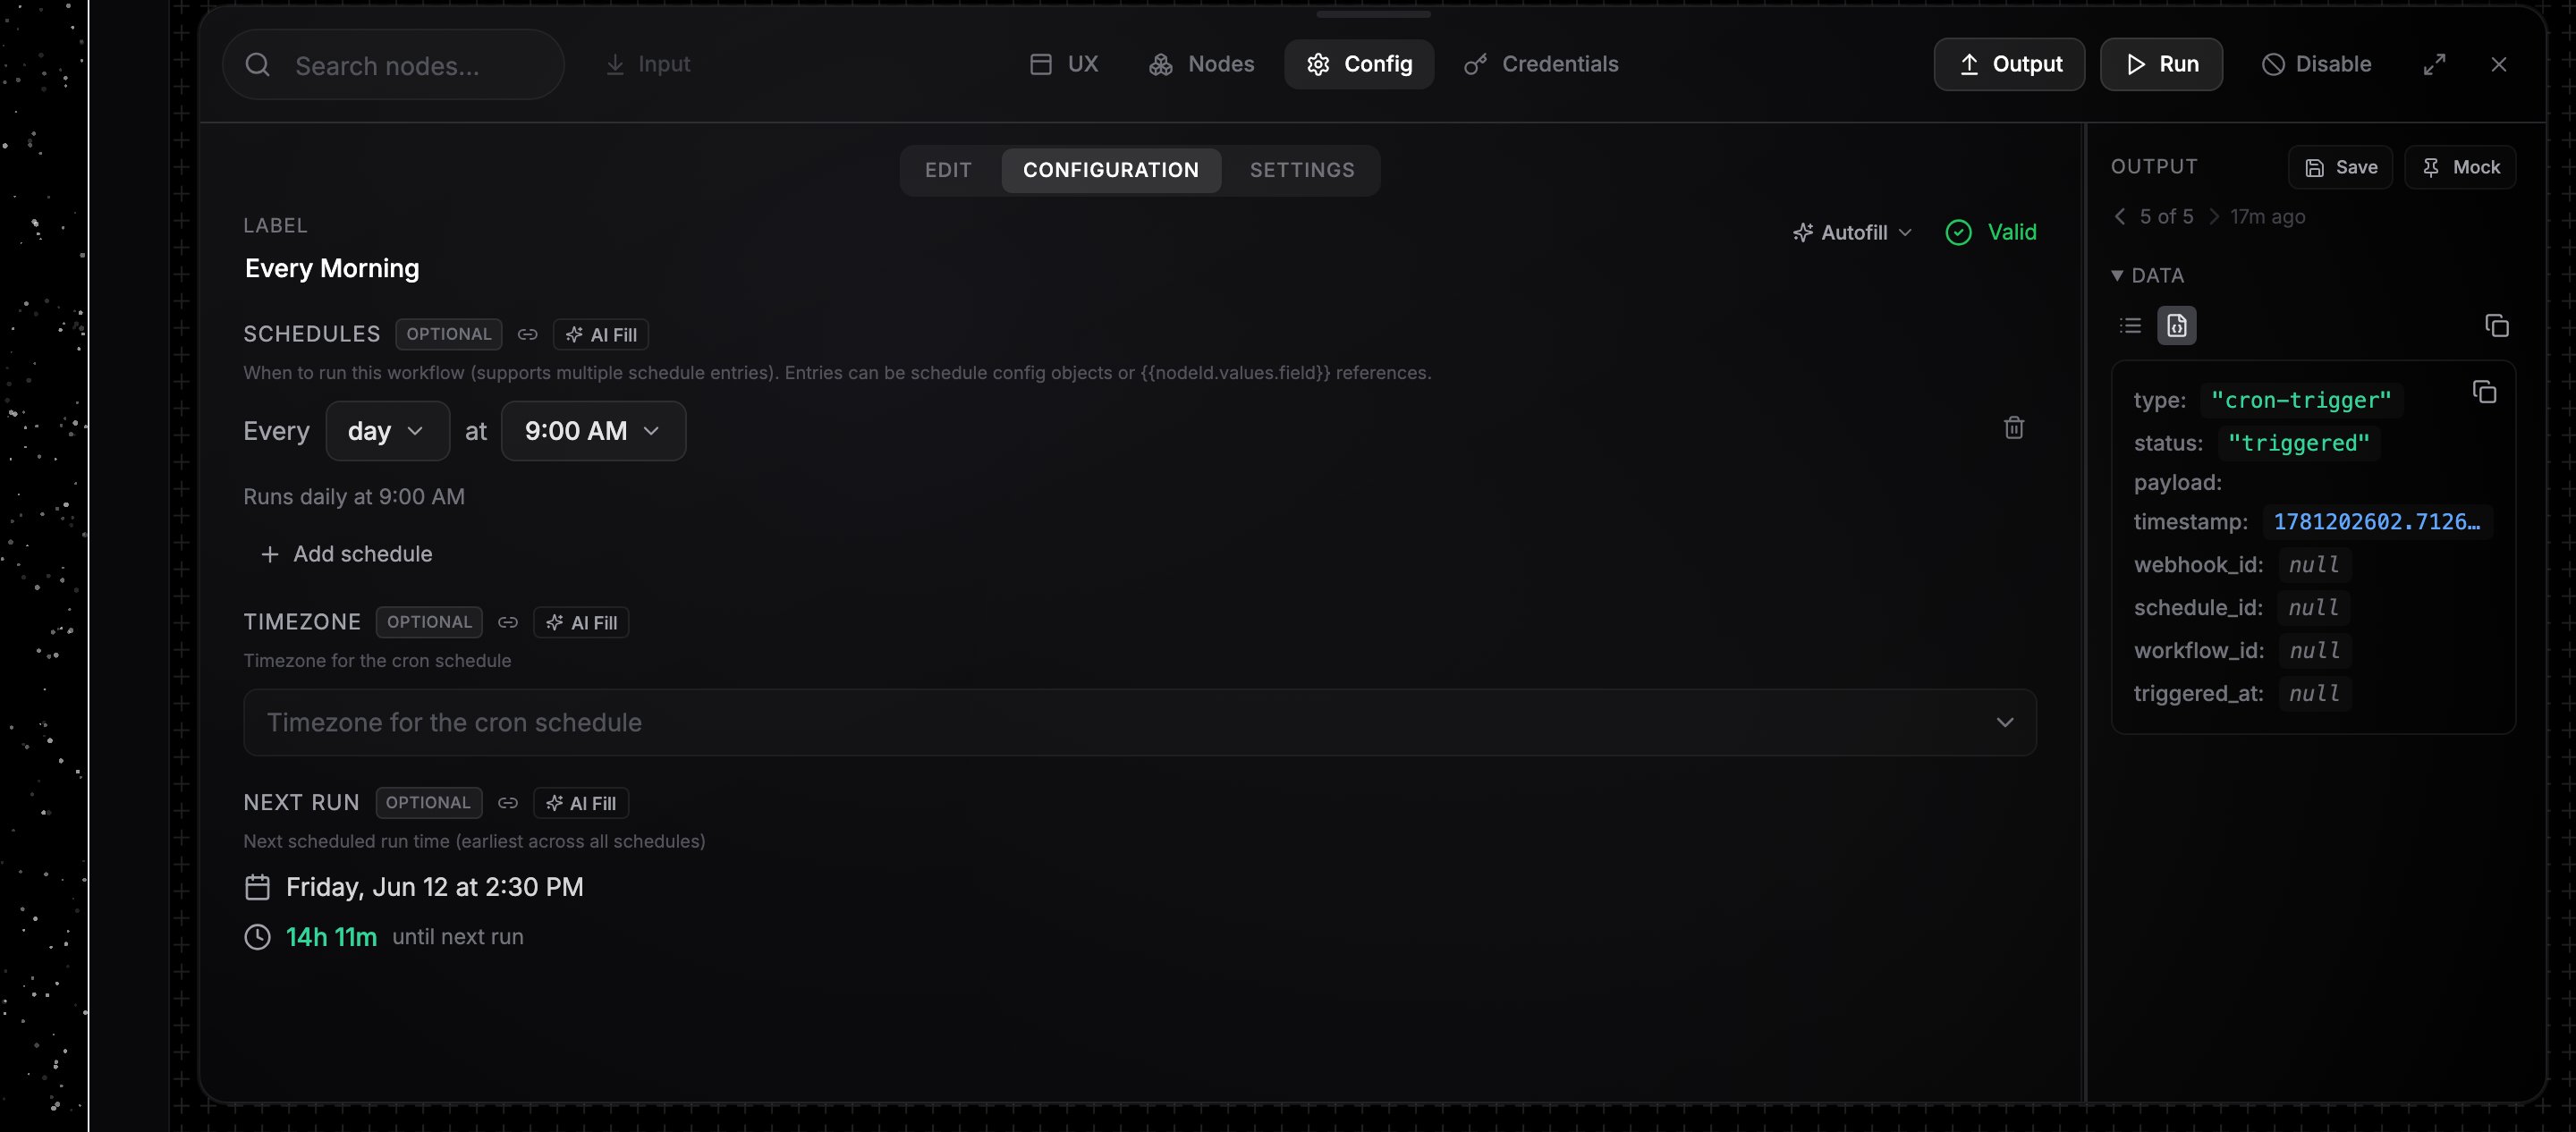
The schedule picker reads as a sentence: “Every 30 minutes”, “Every day at 9:00 AM”, “Every week on Monday at 5:00 PM”. Frequencies: seconds, minutes, hours, day, week, weeks, and month. Interval frequencies take a number; day, week, and month schedules take a time (15-minute increments) and, where relevant, a day. A summary line below the picker confirms the schedule in plain language.
Set the timezone
Choose your timezone in the searchable Timezone dropdown. Daily, weekly, and monthly run times are interpreted in this timezone.
Example schedules
| Goal | Configuration |
|---|---|
| Poll an API twice an hour | Every 30 minutes |
| Morning digest | Every day at 9:00 AM |
| Weekly report | Every week on Friday at 5:00 PM |
| Biweekly sync | Every 2 weeks on Monday at 10:00 AM |
| Monthly invoice run | Every month on the 1st at 9:00 AM |
Multiple schedules
One Schedule node can hold several schedules. Click Add schedule to add another entry; each fires independently. Removing every entry disables the trigger.Run times are converted to UTC using your timezone’s current offset. If your timezone observes daylight saving time, open the workflow or edit the schedule after a DST change to refresh the run time.