Publish a workflow
Enable public access
Open your workflow and click the Share button at the top right of the canvas. In the Share Workflow dialog, turn on the Public access toggle (“Anyone with the link can view”).
Open the template dialog
With public access on, a Publish to Template Library button appears in the Share dialog. Click it to open the Publish Template dialog.
Add title and description
Fill in the Title and a Description. The description supports markdown, with Write and Preview tabs so you can check the formatting. Use Save Draft to keep your work without going live.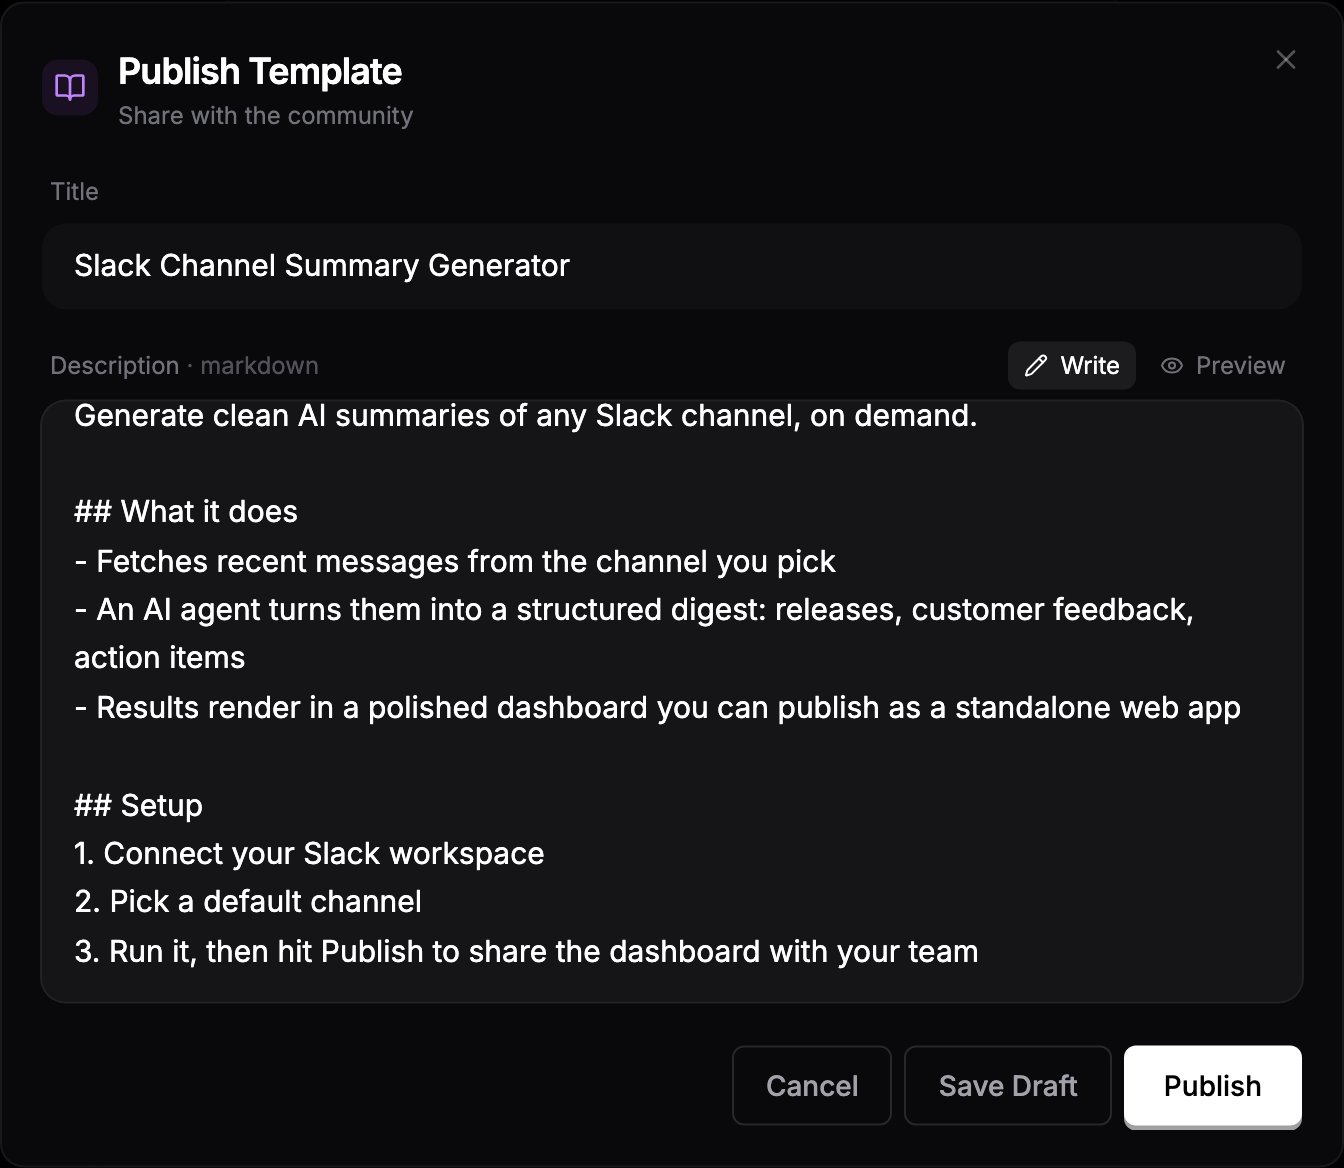
After publishing
- Stats: the gallery tracks view counts, fork counts, and votes for your template, shown on its card and detail page.
- Workflow changes: the template’s preview and forks reflect your current workflow, so improvements you make carry through. Title and description are edited in the Publish Template dialog; click Save to apply changes.
- Unpublish: reopen the dialog and click Unpublish to remove the template from the library.