Supported providers
| Provider | Register your app at |
|---|---|
| X (Twitter) | developer.x.com |
| Shopify | partners.shopify.com |
| WordPress.com | developer.wordpress.com/apps |
Connect with your own app
Open the connect form
On the node, open the Credentials tab and find the OAuth connect section for the provider.
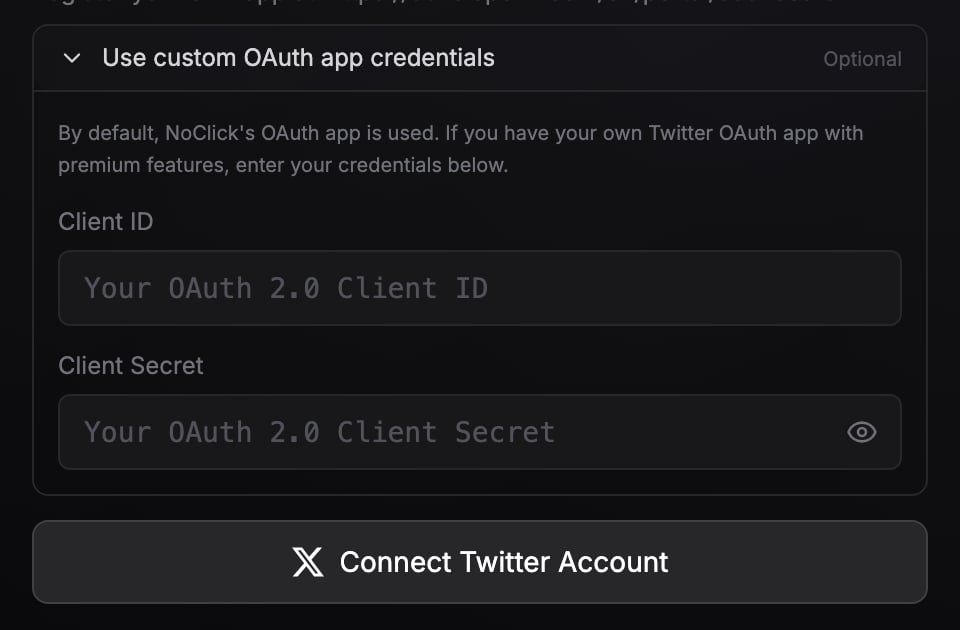
Expand the custom credentials section
Click Use custom OAuth app credentials. It’s optional and collapsed by default.
For Shopify, add
https://noclick.com/api/auth/shopify/callback as a redirect URI in your Shopify app settings before connecting. The form shows this reminder inline.When you’d want this
- Your own rate limits and tier. API quotas attach to the OAuth app. With your own app you’re not sharing NoClick’s pooled limits, and on X, operations that require a paid API tier run at whatever tier your developer account has.
- Your own billing on X. X API calls made through your own app are billed by X to your developer account directly, so NoClick doesn’t charge its per-resource X API credits for those runs. See What costs credits.
- Your own branding. Users approving the connection see your app’s name and logo on the consent screen.
Next steps
Connecting accounts
The standard OAuth and API-key flows.
How credentials are protected
Encryption, refresh, and who can see what.