Create a key
Pick a scope
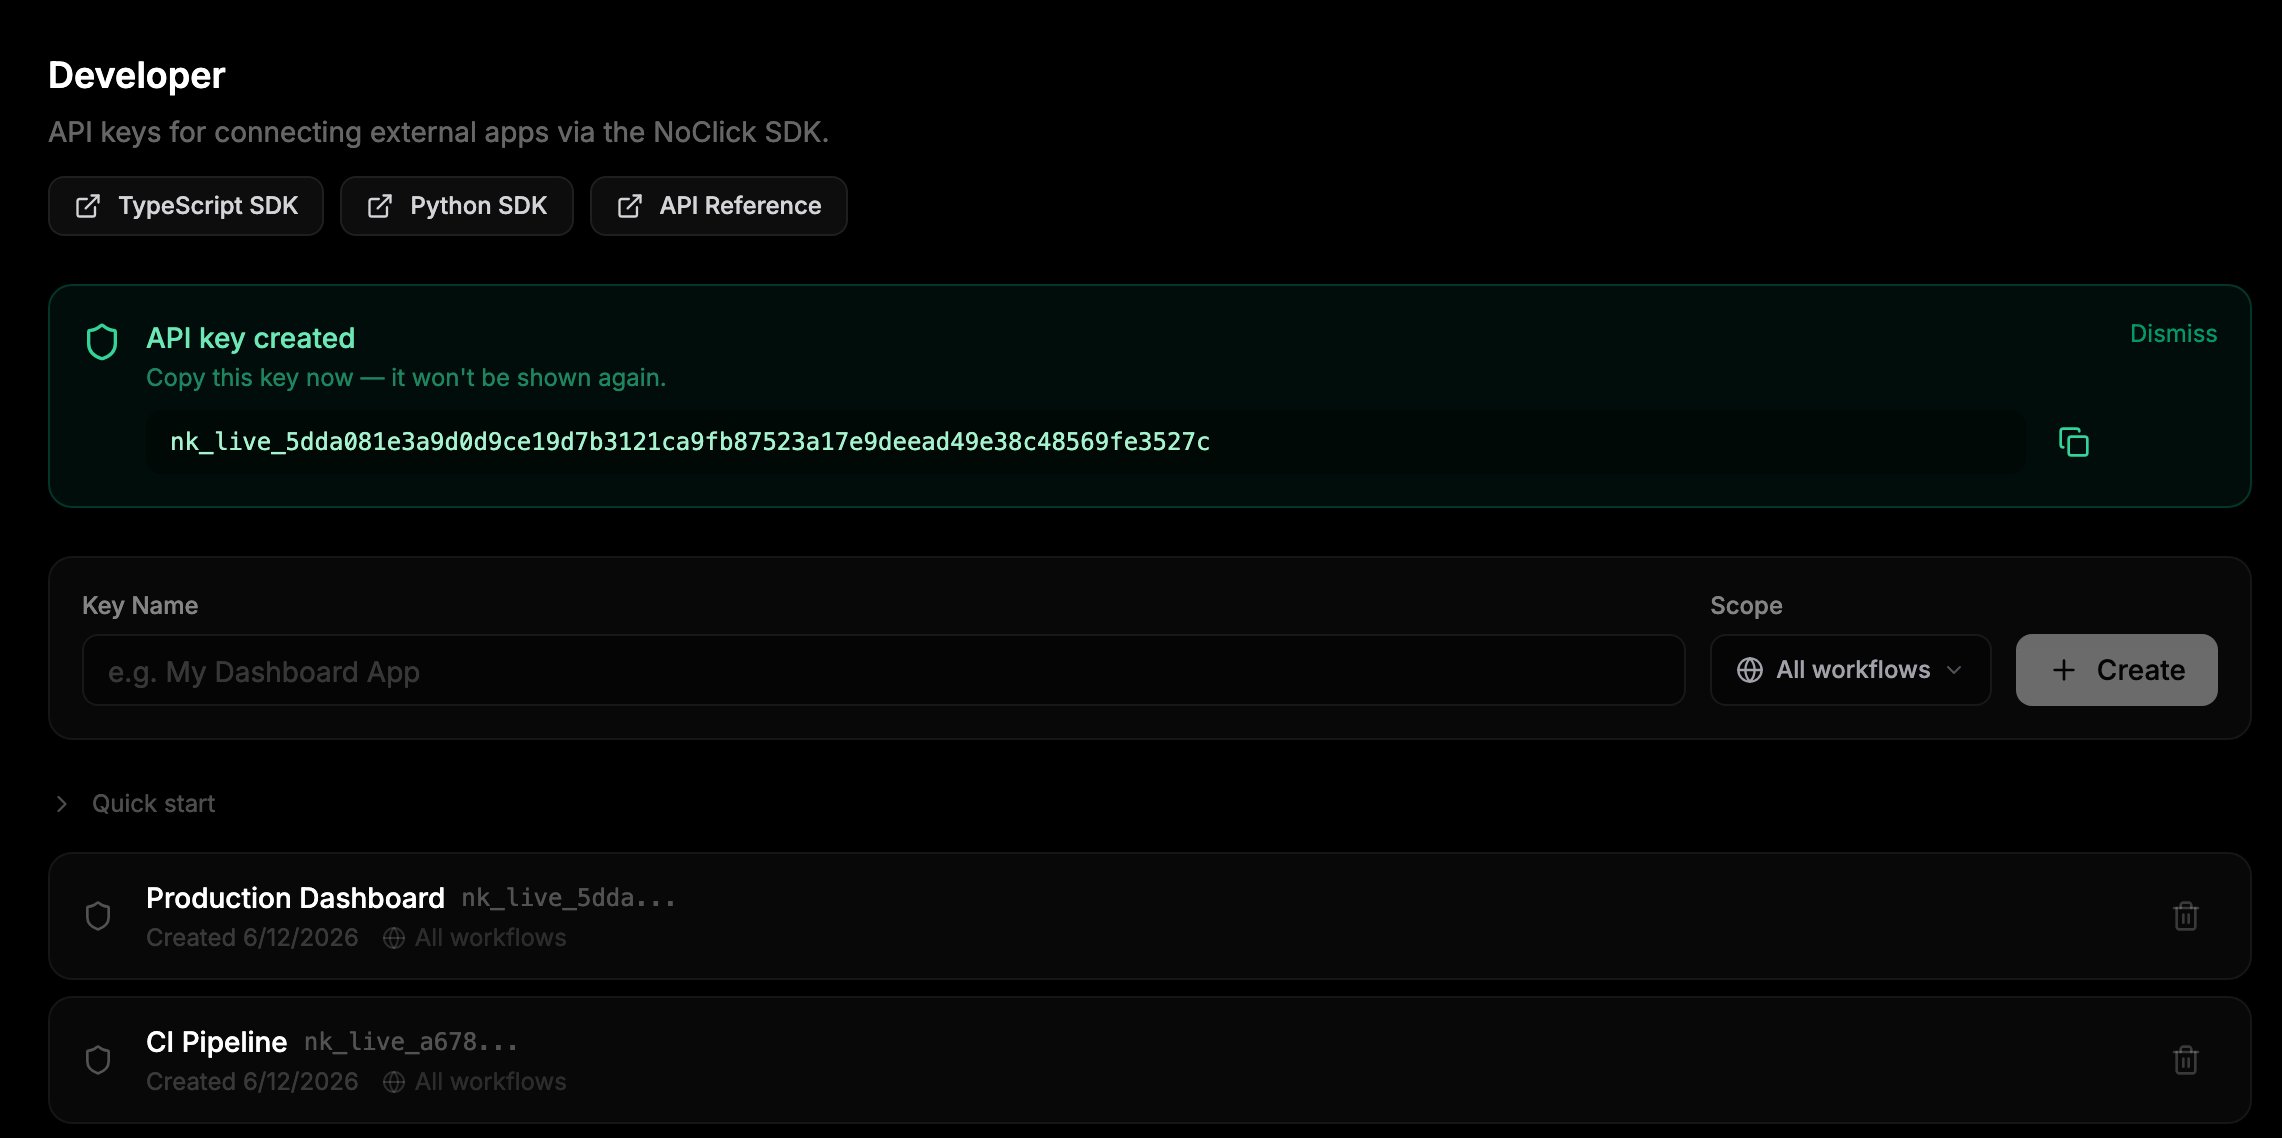
Leave the Scope dropdown on All workflows, or select a single workflow to restrict the key to it.
Key format
| Part | Example | Description |
|---|---|---|
| Prefix | nk_live_ | Identifies NoClick API keys |
| Secret | a1b2c3d4e5f6... | 64 hex characters |
Permissions
Every SDK call is checked against the key’s permissions:| Permission | Allows |
|---|---|
read | List workflows, read node outputs and configs, read workflow state, list credentials, download resources, read dataset rows, list runs |
execute | Run and stop workflows |
write | Create, update, and delete workflows; set node configs; write workflow state; manage credentials; upload resources; modify datasets |
permissions list.
Workflow scoping
A key scoped to one workflow rejects any request that targets a different workflow. Use scoped keys when an external app only needs one workflow, so a leaked key cannot touch the rest of your account.Publishing an app mints its own workflow-scoped key automatically. These keys are managed by NoClick, hidden from your key list, and revoked when you unpublish.
Use a key
Manage keys over REST
Developer settings is backed by a small REST surface athttps://api.noclick.io that you can call directly. These endpoints authenticate with your NoClick browser session cookie, not with an API key.
| Method | Path | Purpose |
|---|---|---|
POST | /api/keys | Create a key. Body: name, optional workflow_id, optional permissions (defaults to ["read", "execute", "write"]). Returns raw_key once. |
GET | /api/keys | List your keys with name, prefix, scope, permissions, created and last-used timestamps, and revocation status. |
DELETE | /api/keys/{key_id} | Revoke a key. |
Revoke a key
Click the trash icon next to a key in Developer settings. Revocation takes effect immediately; the next request with that key is rejected. Revoked keys stay visible under Show revoked keys for reference.Security
- Keys are hashed (SHA-256) at rest. The raw key is shown once at creation and never stored.
- Treat keys like passwords: keep them in environment variables, never in source control or client-side code.
- Scope keys to a single workflow whenever possible.
- Check the “Last used” date in the key list and revoke keys you no longer need.
Next steps
External apps
Connect a TypeScript or Python app to NoClick over WebSocket.
API reference
Every SDK namespace and method.