> ## Documentation Index
> Fetch the complete documentation index at: https://docs.noclick.com/llms.txt
> Use this file to discover all available pages before exploring further.
# Quickstart: publish your first app
> Build a small web app with the AI builder and publish it to your own noclick.app subdomain.
Workflows can have an interface: a grid of blocks (forms, text, results) that you publish as a standalone web app. In this quickstart you build one and put it live.
From the dashboard, click **New Workflow** and describe the app in the chat. For example:
```text theme={null}
A form that takes a topic and generates a tweet draft
```
The builder creates the workflow and the interface blocks that go with it: a form for the topic, and an output area for the draft.
Switch to the **Interface** tab in the canvas top bar (shortcut `I`). This is the visual editor for your app.
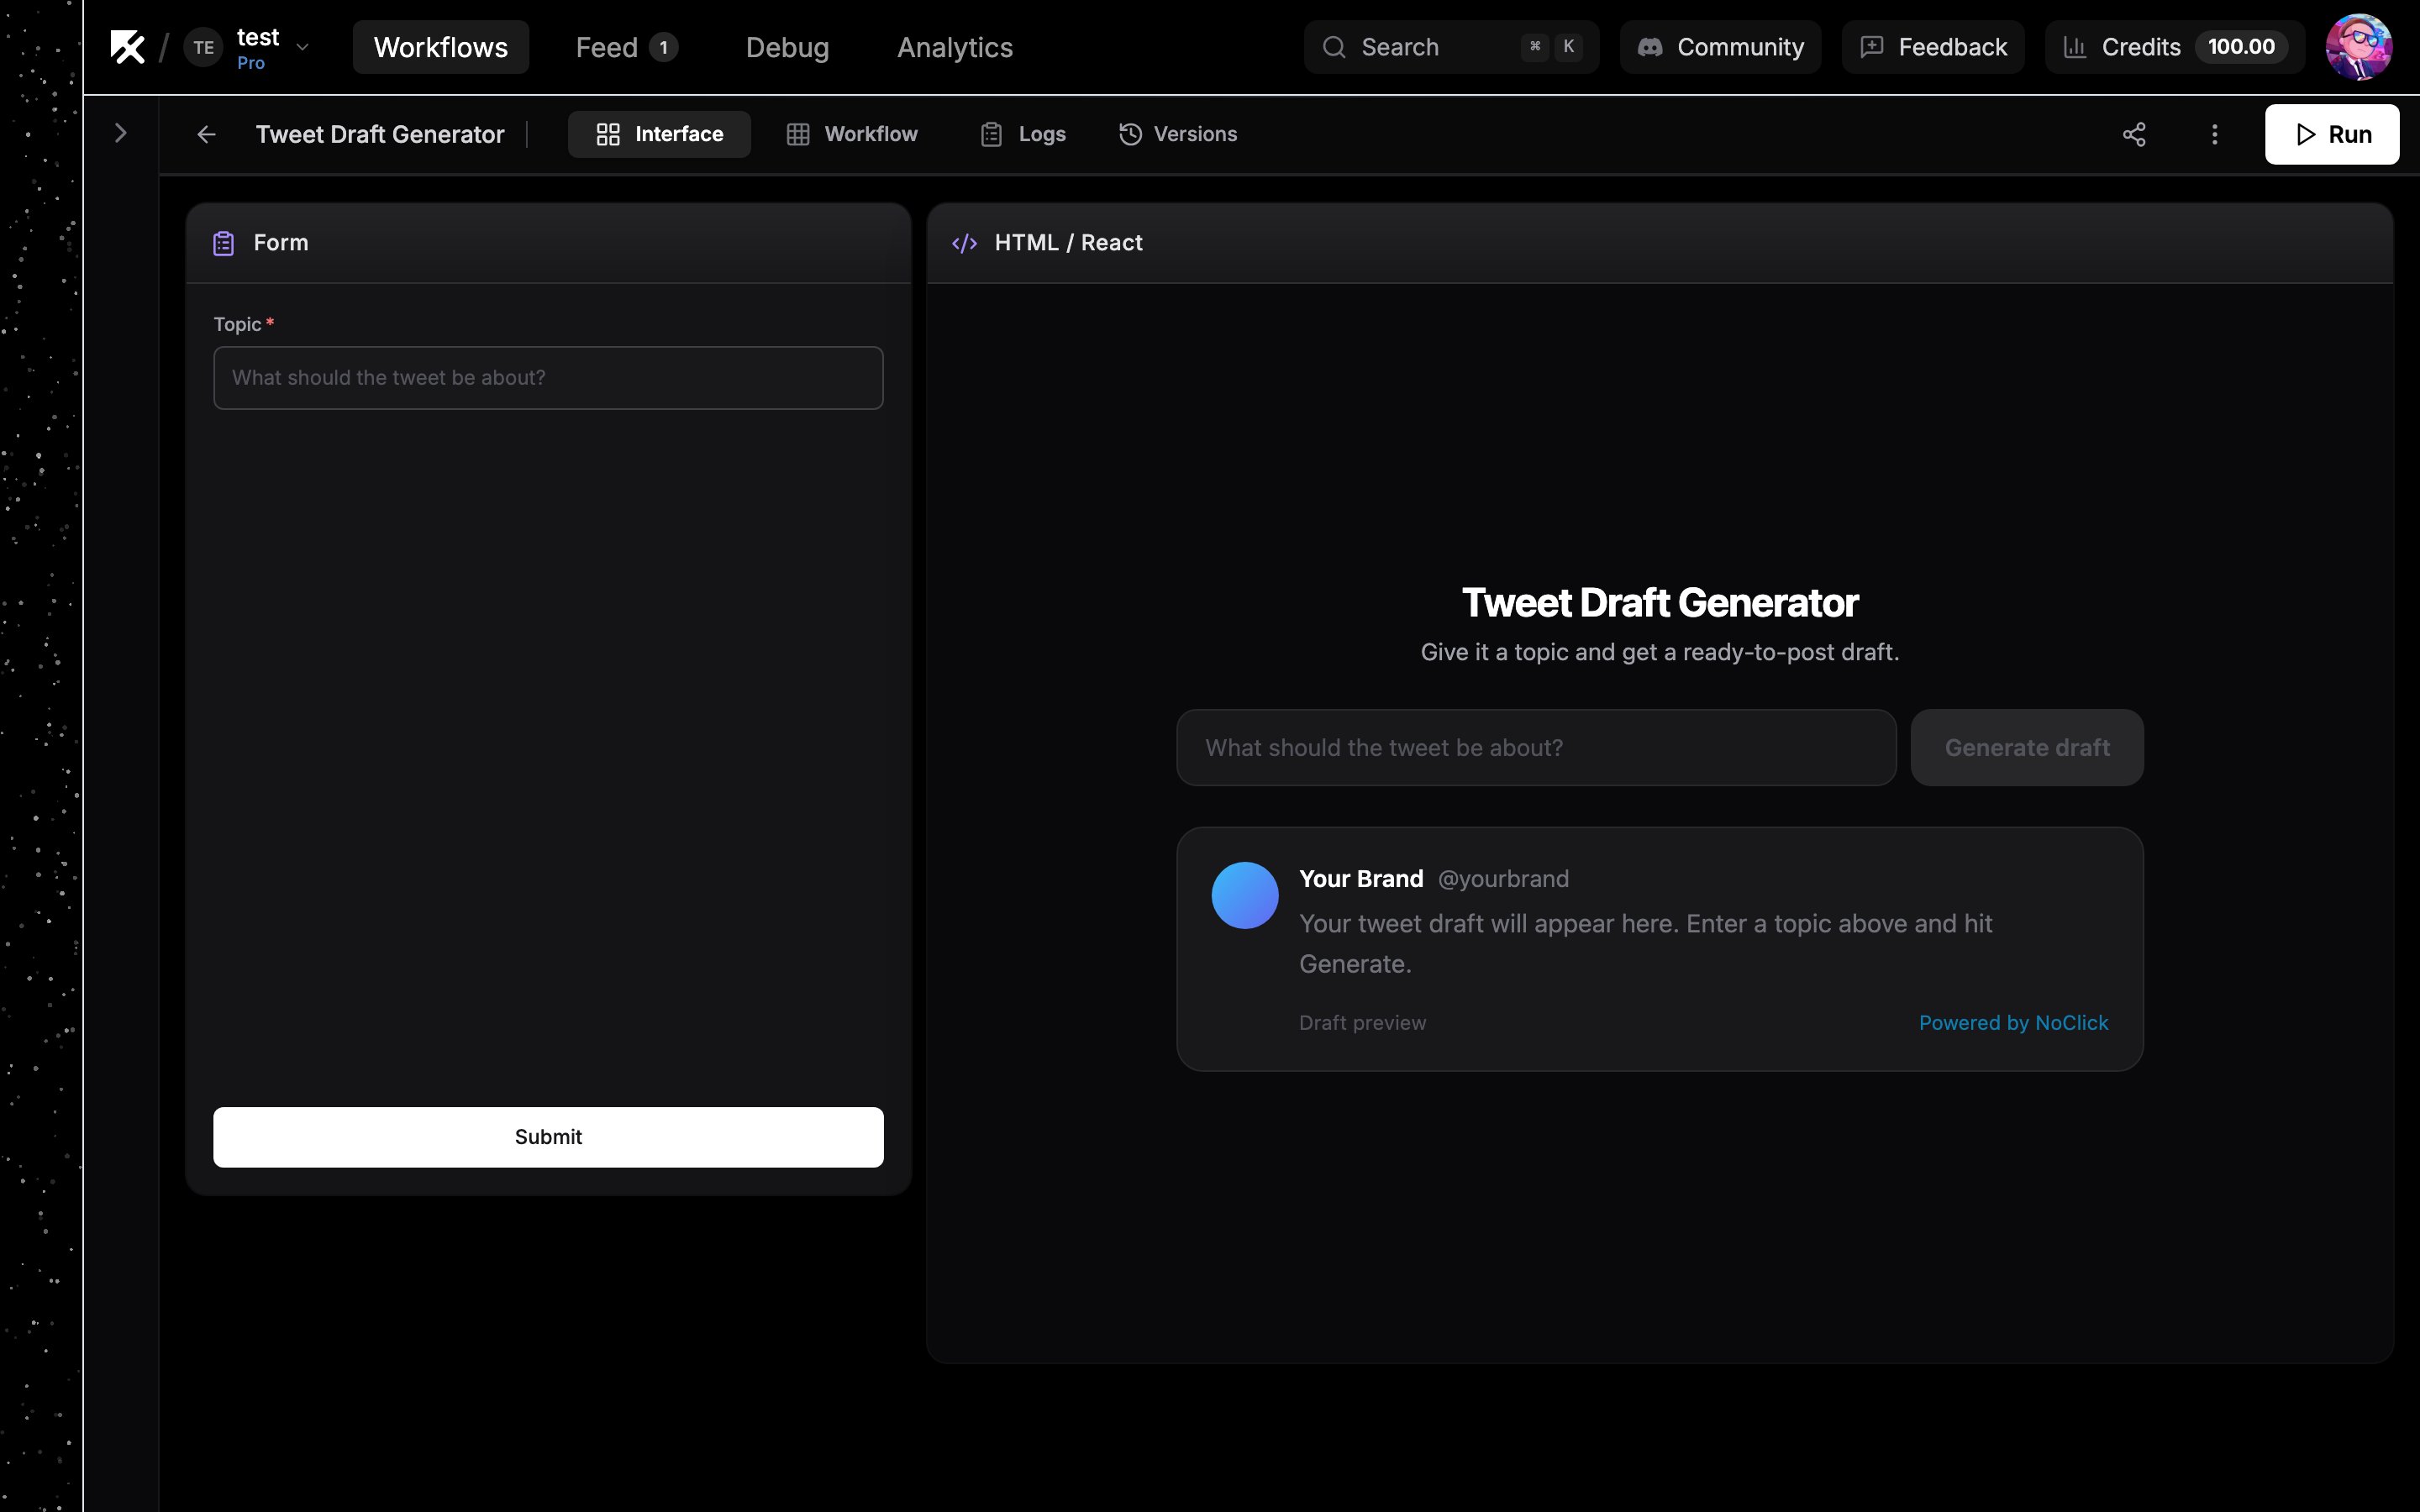 Drag blocks around the grid and resize them until the layout looks right. See [Interface blocks](/apps/blocks) for the full set of block types you can add.
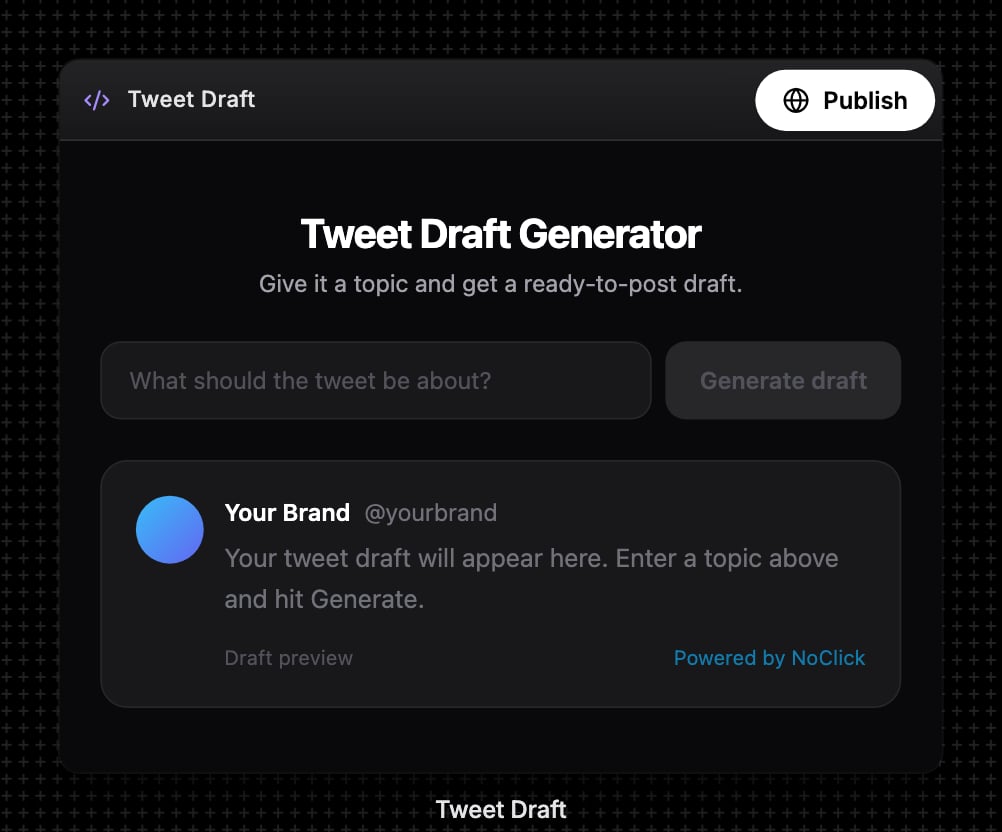
Switch back to the **Workflow** tab and click the **Publish** pill at the top right of your app block's header. (A white **Publish** button also appears at the top right of the **Interface** tab.)
Drag blocks around the grid and resize them until the layout looks right. See [Interface blocks](/apps/blocks) for the full set of block types you can add.
Switch back to the **Workflow** tab and click the **Publish** pill at the top right of your app block's header. (A white **Publish** button also appears at the top right of the **Interface** tab.)
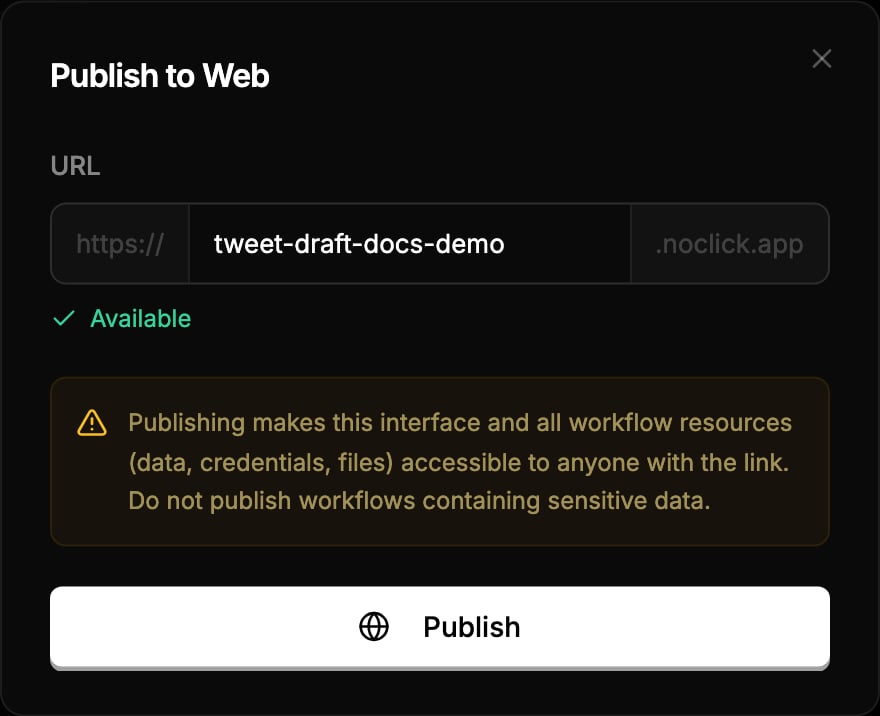
 In the **Publish to Web** dialog, type a subdomain for `https://[subdomain].noclick.app`. Availability is checked as you type. Then click **Publish**.
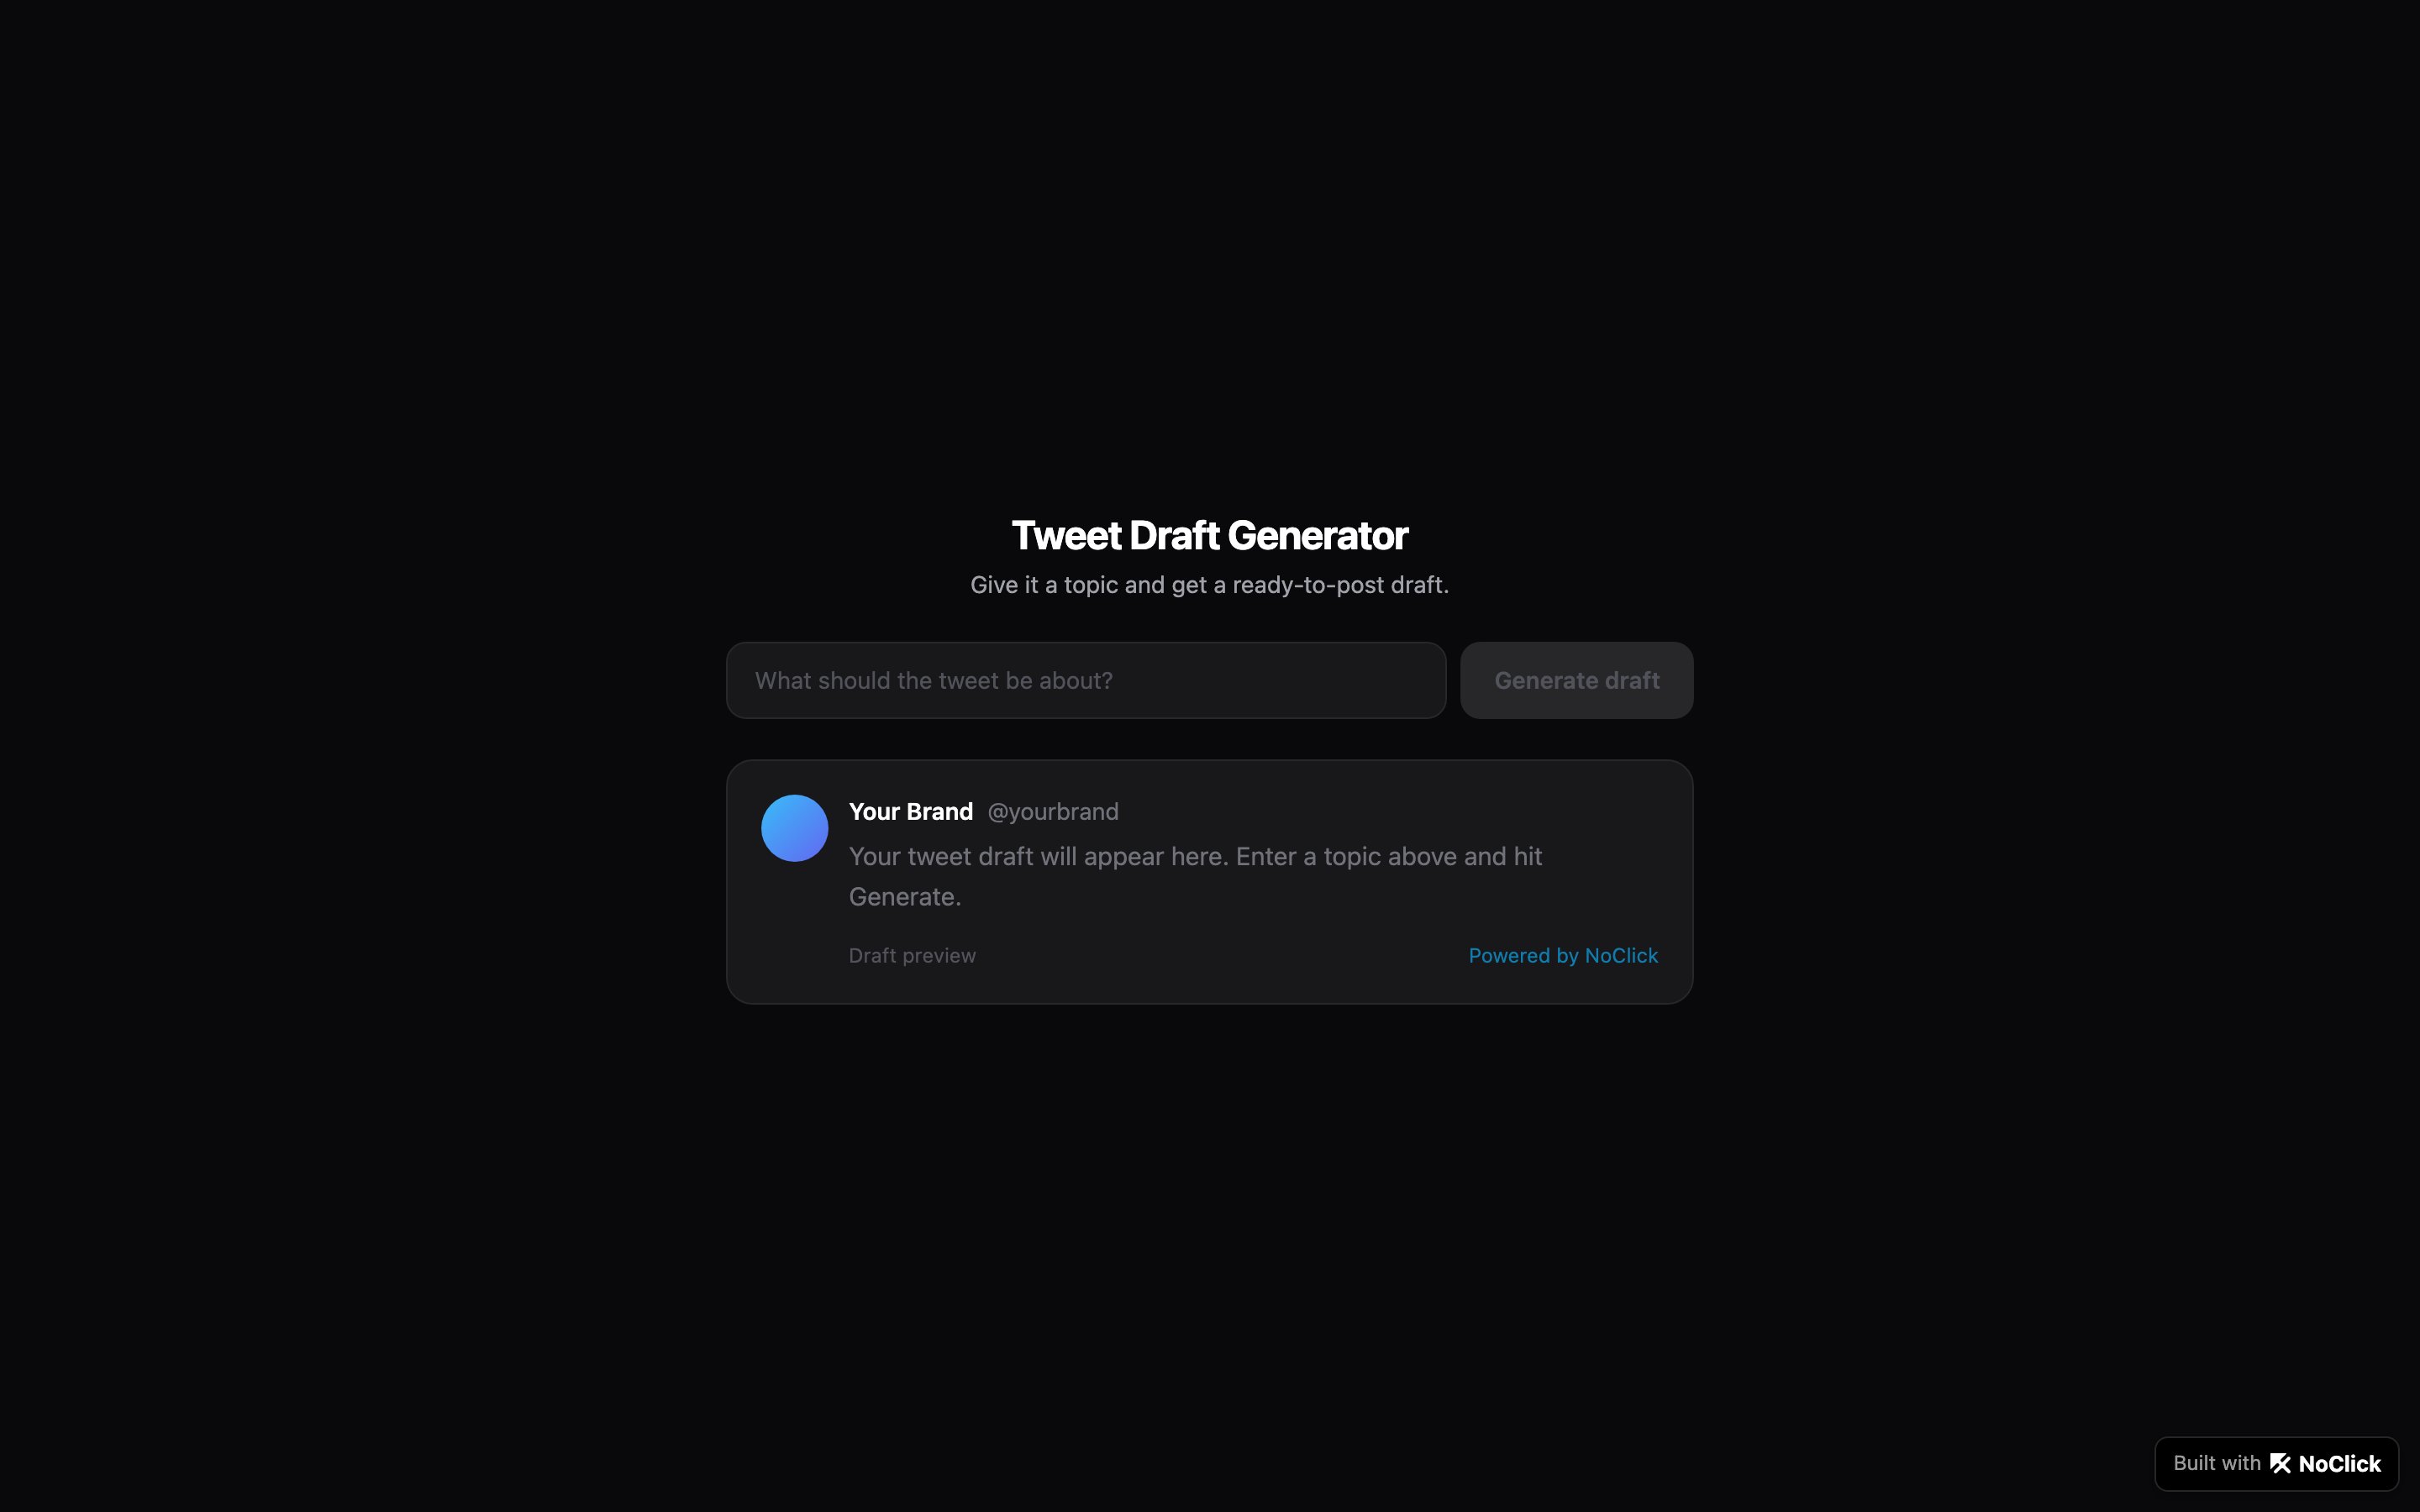
 Your app is live at `https://yoursubdomain.noclick.app`. Share the link with anyone.
 After publishing, the button changes to **Update** (push your latest changes) and **Unpublish**. Manage all your published apps in **Settings → Published Apps**.
## Next steps
Updating, unpublishing, and managing published apps.
Build your own React blocks when the built-in ones aren't enough.
After publishing, the button changes to **Update** (push your latest changes) and **Unpublish**. Manage all your published apps in **Settings → Published Apps**.
## Next steps
Updating, unpublishing, and managing published apps.
Build your own React blocks when the built-in ones aren't enough.